通过:01 创建CentOS虚拟机 我们已经创建好了虚拟机,也下载好了CentOS7的镜像文件。那么接下来就开始在我们的虚拟机安装配置CentOS系统。
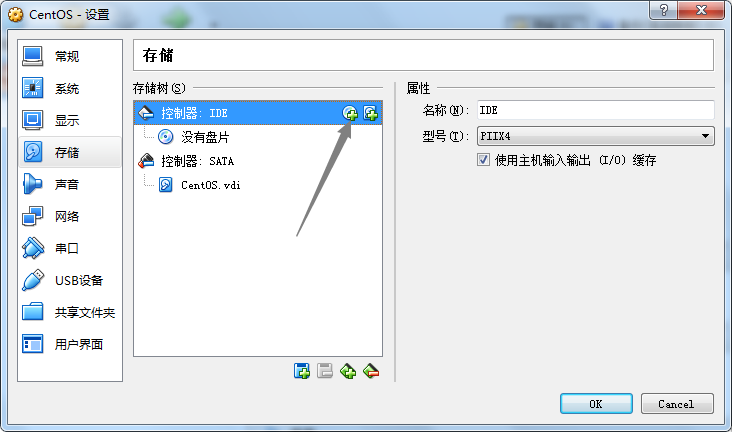
01 首先打开我们的虚拟机,选择我们创建好的虚拟机,然后点击设置–存储–添加虚拟光驱:
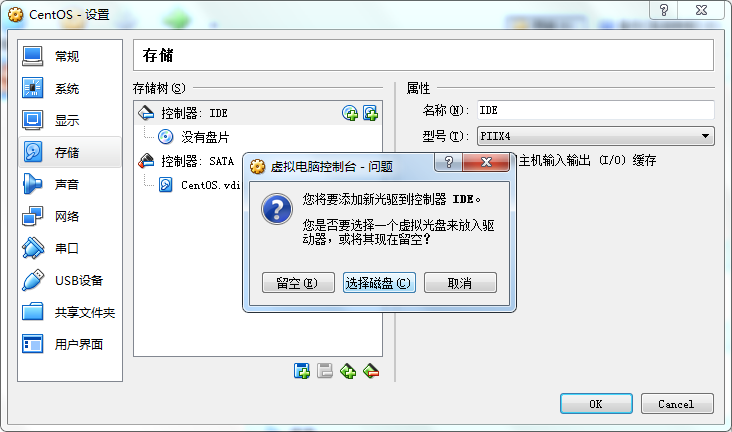
02 点击选择磁盘:
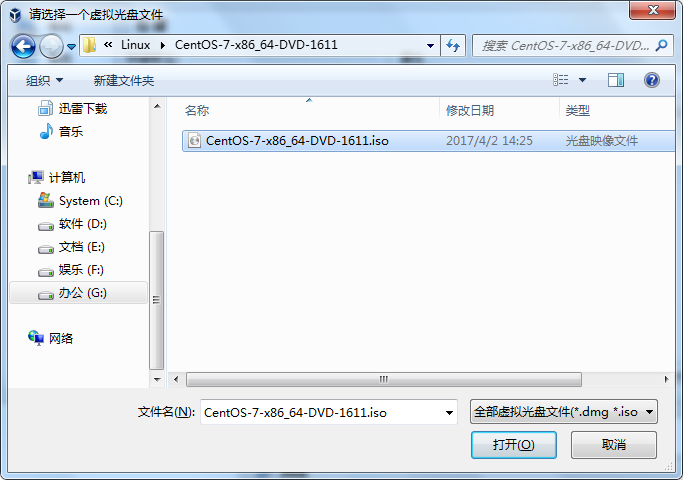
03 选择我们下载好的CentOS镜像文件:
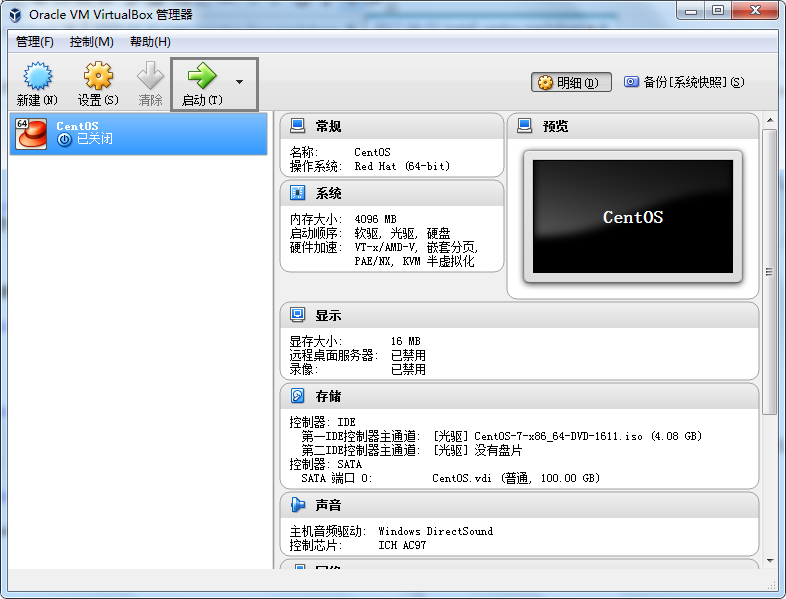
04 选择完之后,点击ok,再点击Virtual Box的启动按钮,就会引导读取我们选择的iso镜像文件:
05 运行后我们就可以看到安装引导:
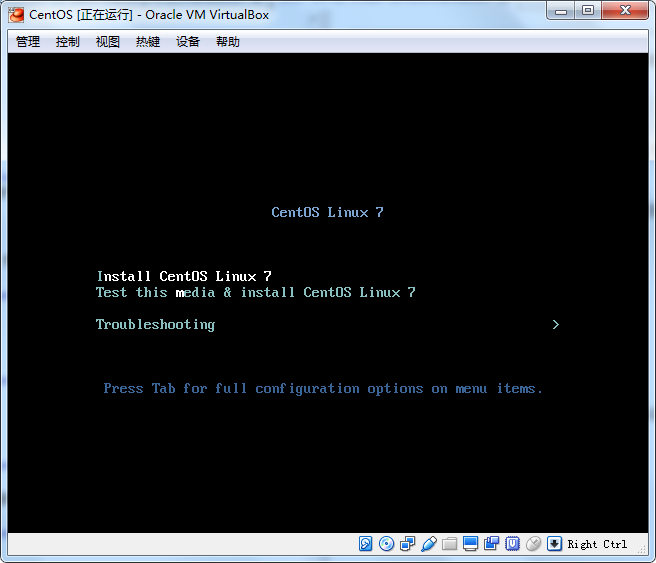
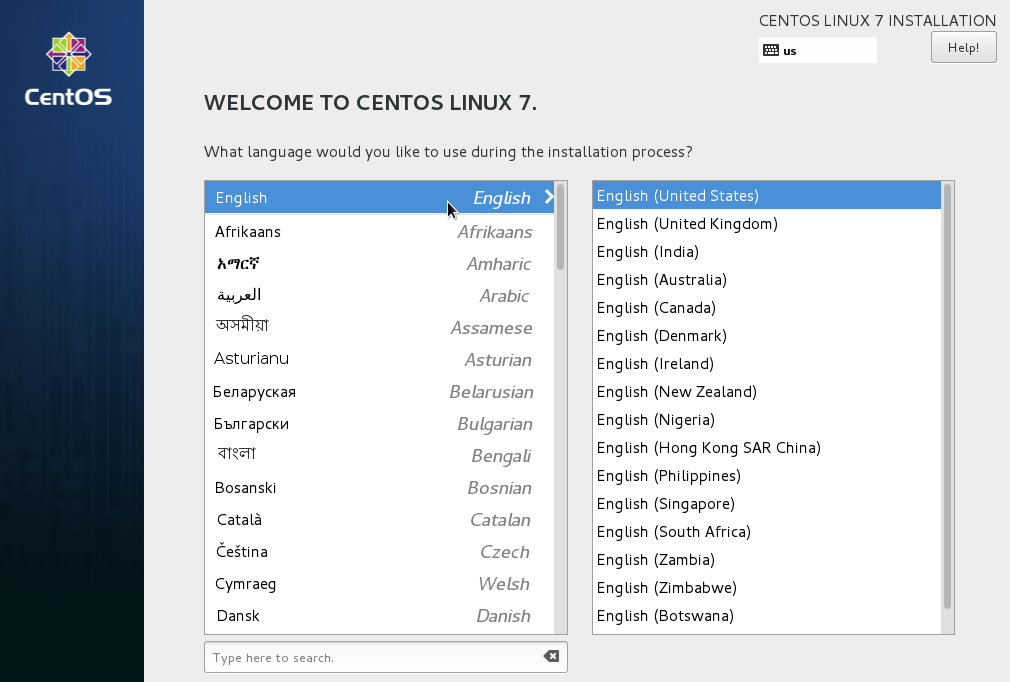
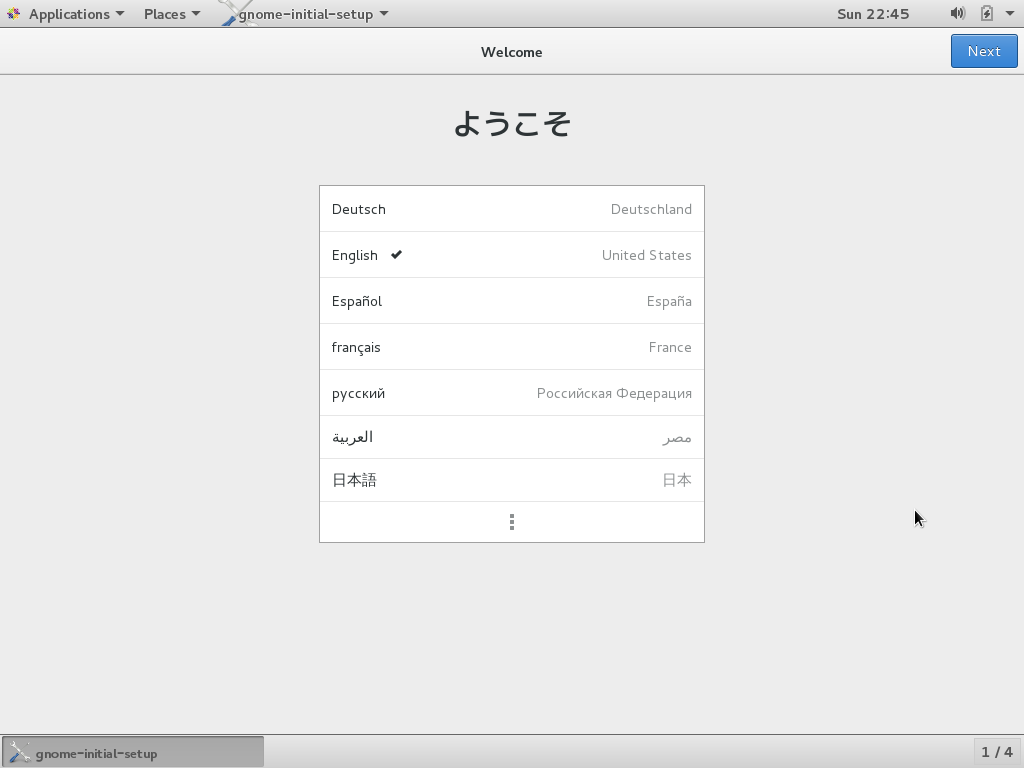
06 我们选择 Install CentOS Linux7,然后按回车,骚等一会就会出现如下界面,我们选择English,当然你也可以选择中文,但是这里我选择English,毕竟学Linux还是要懂点英文的:
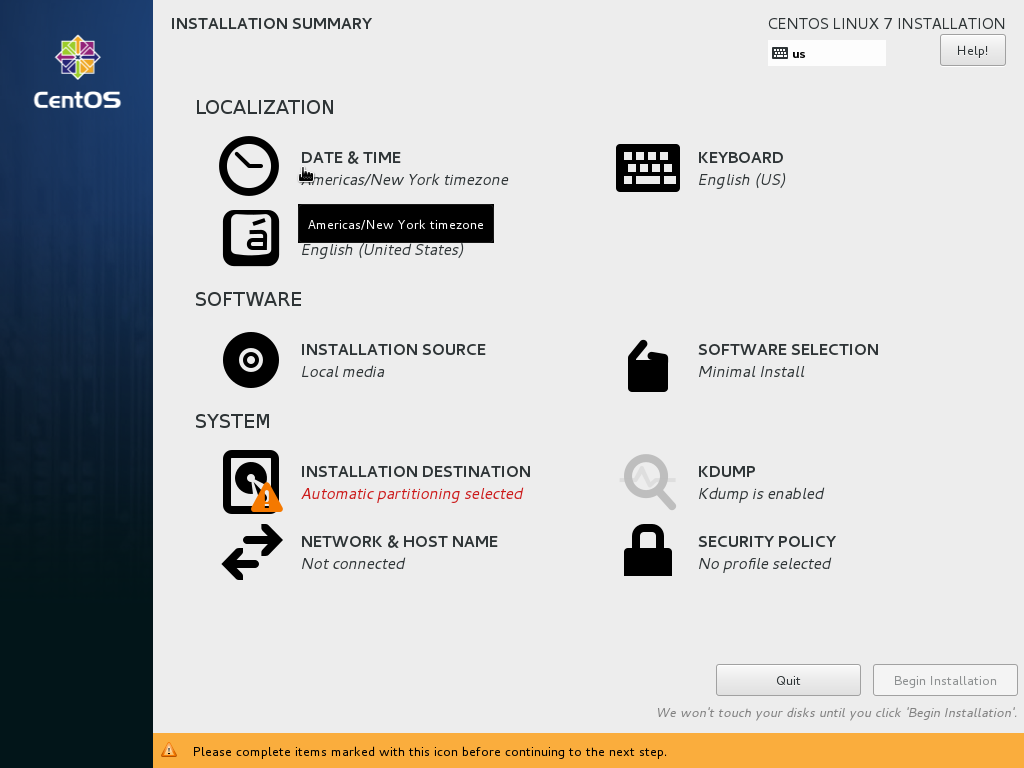
07 选择完之后我们看到CentOS系统安装总览,分别有「LOCALIZATION(本地化安装)」、「SOFTWARE(软件安装)」、「SYSTEM(系统安装)」:
注意了,在虚拟机使用和我们自己的电脑之间,按住右边的Ctrl键可以对鼠标的事件进行切换,比如你在虚拟机中使用中,想用鼠标使用自己的电脑时,那么就按右边的Ctrl键来获取鼠标事件。
设置LOCALIZATION(本地化安装)
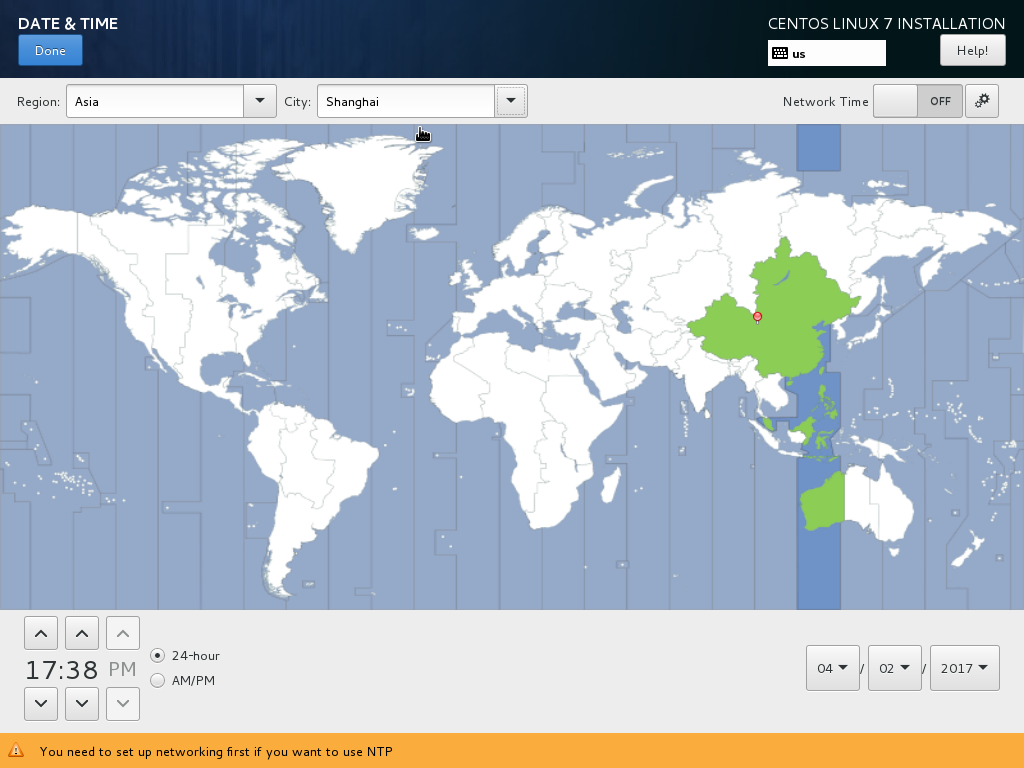
08.1 点击DATE&TIME来设置系统时间,这里Region(地区)我们选择Asia(亚洲),城市选择shanghai,然后点击左上角的Done:
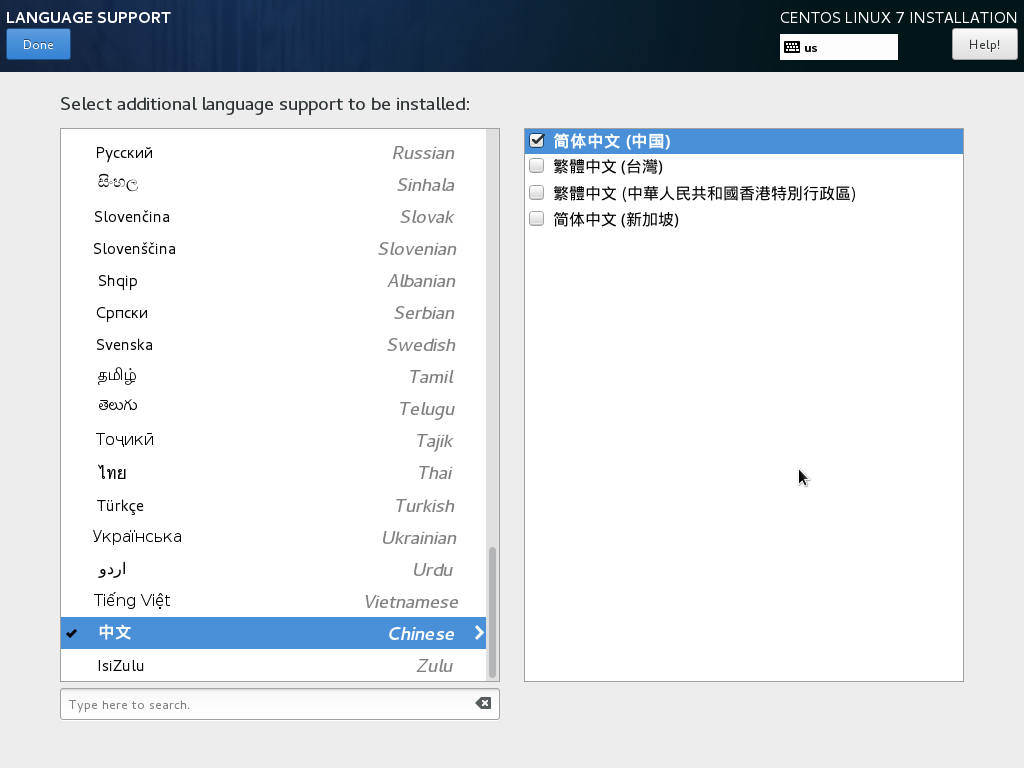
08.2 接下来我们点击LANGUAGE SUPPORT(语言支持),我们可以根据自己的需求选择需要的语言安装包,这里我选择英语和中文,选择完点击左上角的Done:
设置SOFTWARE(软件安装)
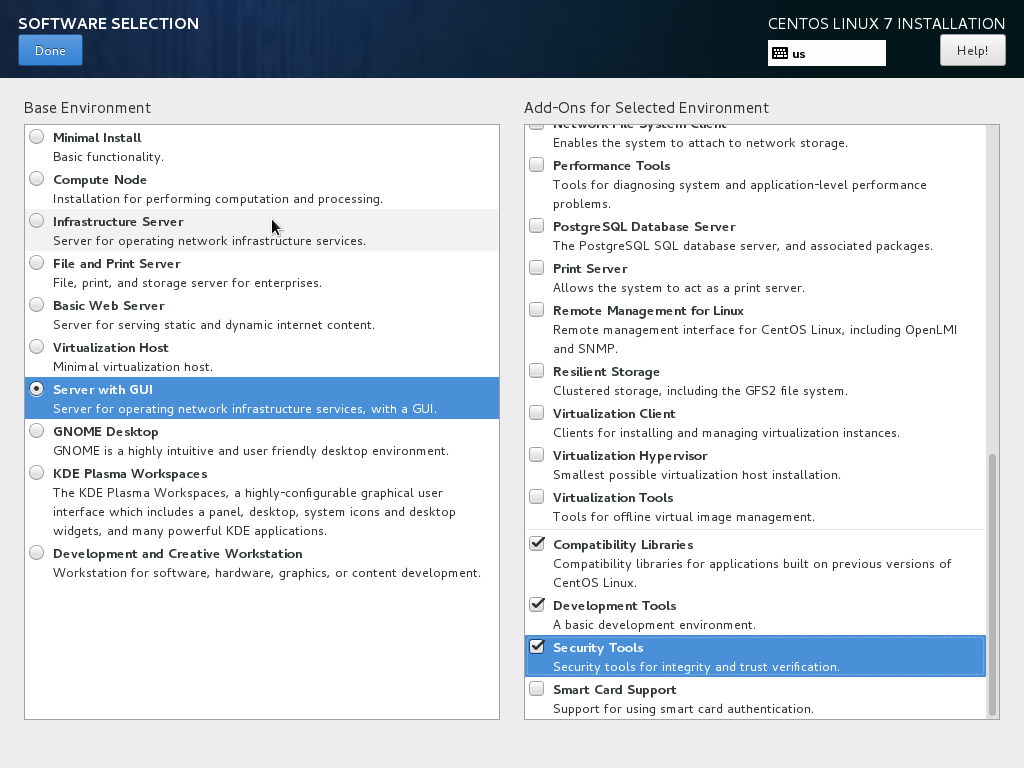
09 INSTALLATION SOURCE 这个选项默认即可,接下来我们选择 SOFTWARE SELECTION, 这里面可以供我们选择软件包,因为我们把Linux作为服务器使用,所以在这里我们选择Server with GUI,因为这个环境包含了基础的服务设施和GUI界面,然后在右边可以根据需要选择软件环境:
设置SYSTEM(系统)
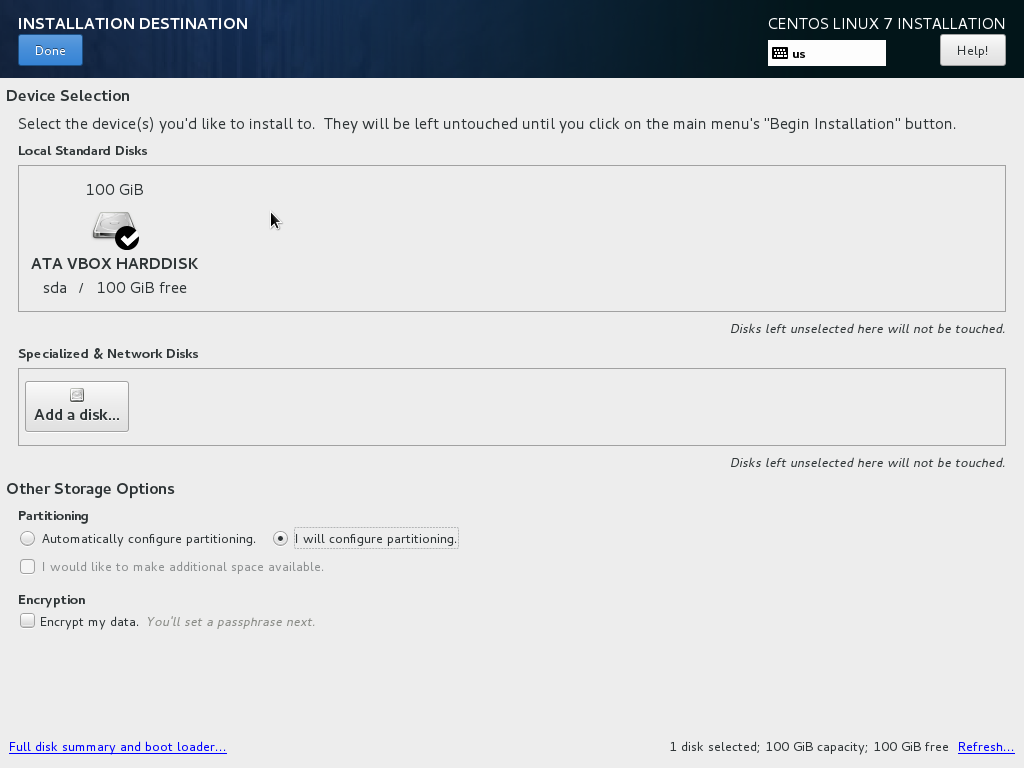
10.1 选择 「INSTALLATION DESTINATION」 进行分区操作,在这里说明一下Linux的分区必须有 根分区(用“/”标识) 和 交换分区(用swap标识),swap分区类似于Windows的虚拟内存概念。虽然Linux的必需分区为根分区和交换分区,但是我们在分区的时候可以根据我们的需要进行分区,不仅仅划分根分区和交换区:
- / (根分区)
- swap (交换分区)
- /boot (存储系统内核和引导等信息)
- /usr (存储应用软件安装信息)
- /var (存储系统日志信息)
在分区前还再说明一下Linux的分区命名规则:
一般有这样的命名:
/dev/hdb2 、 /dev/sda1
- /dev : 所有文件的存放目录
- hd/sd : 代表硬盘,hd是IDE硬盘,sd是SCSI硬盘。
- b: 分区的第三个字母,代表的是在哪个硬盘上,如 /dev/hdb 就表示在第二个hd盘上, /dev/sda 就代表在第一个sd盘上。
- 2: 最后这个数字就代表的是分区,Linux在1~4代表主分区或者扩展分区,从5开始就代表逻辑分区,比如 /dev/hdb2/ 就代表在第二个hd盘上的第二个主分区或者扩展分区, /dev/sda6 就代表在第一个sd盘上的第二个逻辑分区。
好了,我们了解好了分区后就点击「INSTALLATION DESTINATION」 ,可以看到我们之前创建好的100G的sda盘,我们在下面选择「I will configure partitioning」 来自定义分区:
点击完Done之后会让我们选择分区方案,在这里我们选择 Standard partition(标准分区):
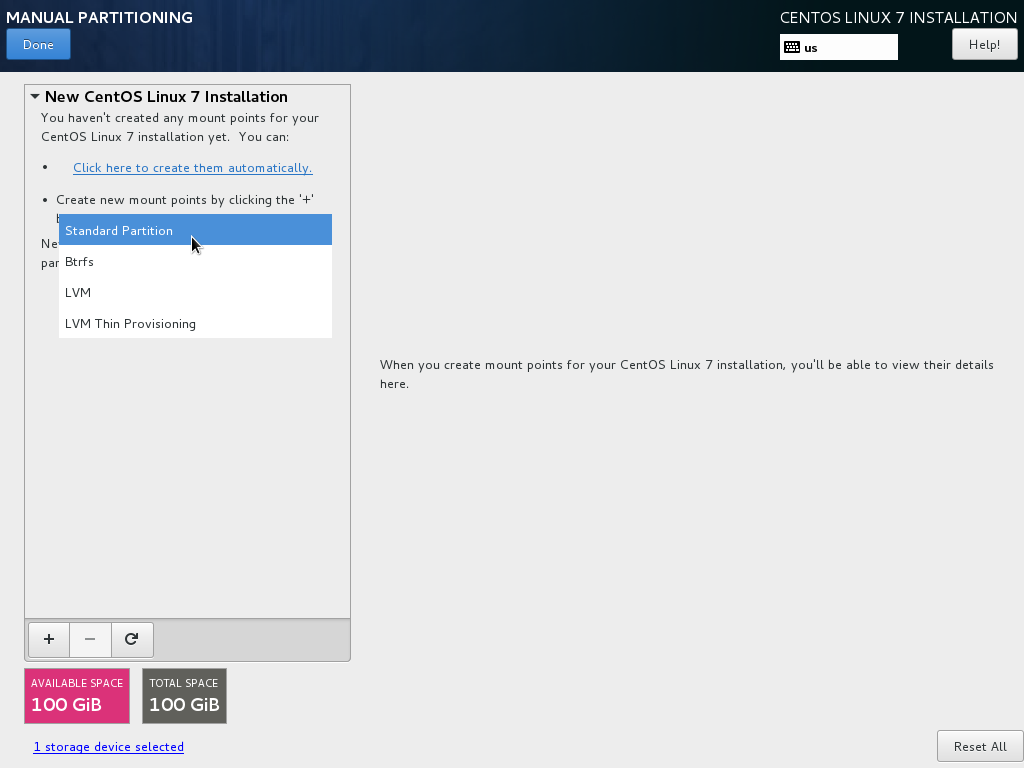
接下来开始分区,首先对根分区进行划分,点击下方的 + , Mount Point选择根分区(“/”),Desired Capacity(容量)输入20G:
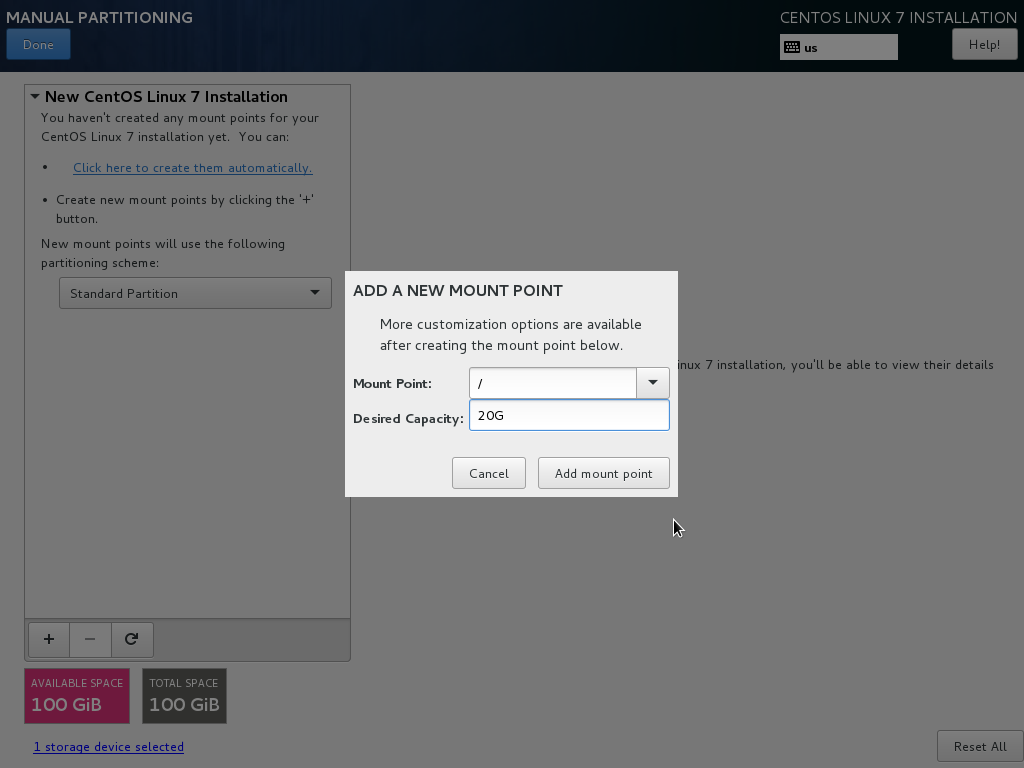
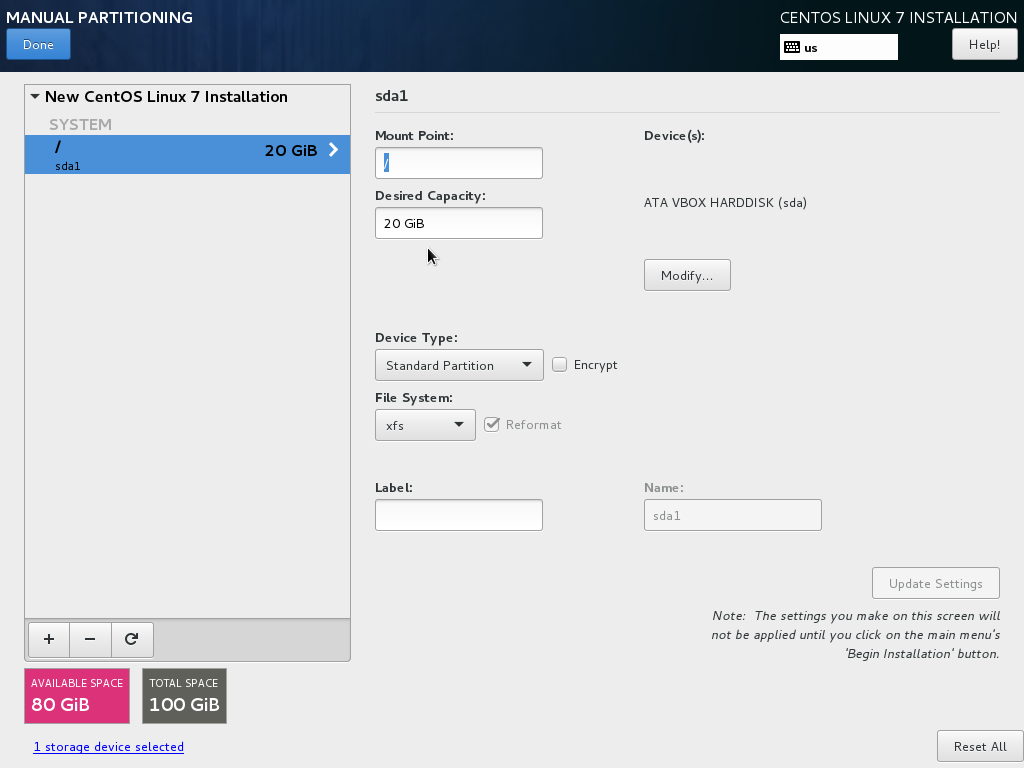
然后我们点击 Add mount point,可以看到我们建立了sda1这个根分区:
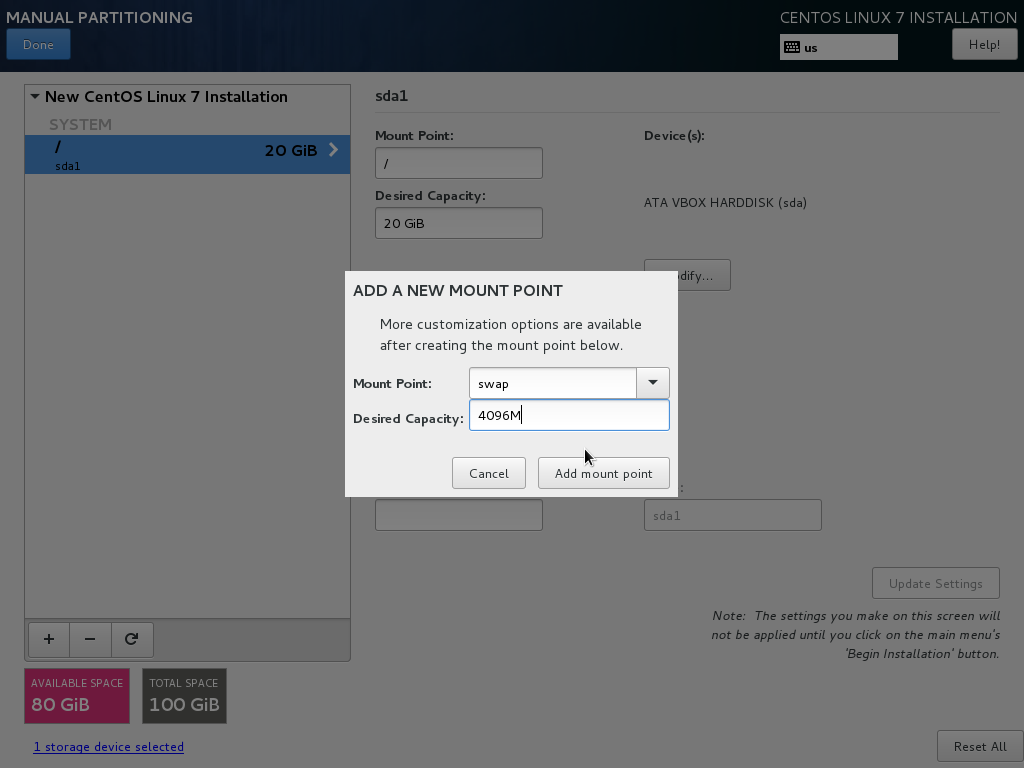
接下来我们划分交换分区,点击下方的 + ,然后选择warp,这里输入4096M:
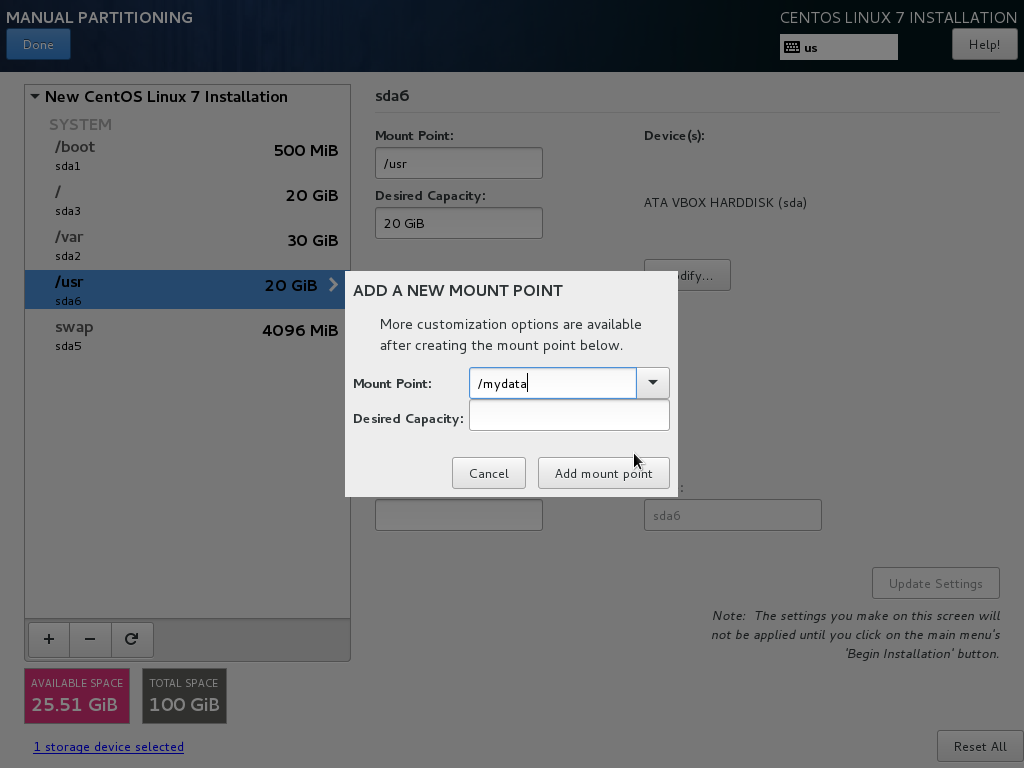
然后以同样的方式划分:
- /boot (存储系统内核和引导等信息)
- /usr (存储应用软件安装信息)
- /var (存储系统日志信息)
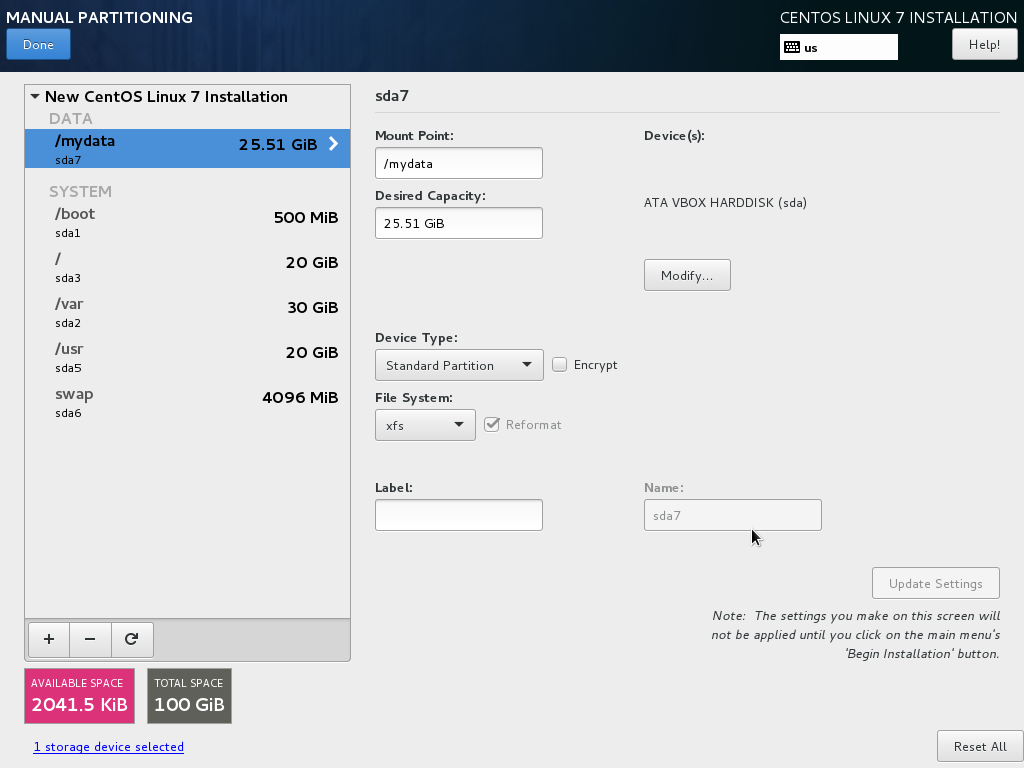
这里我给boot划分500M,usr划分20G,var划分30G,还有剩余的空间我们可以划分为“/mydata”,这里录入mydata,下面的Desired Capacity不需要填,会自动就剩余的空间划分给mydata:
至此,我们就把划分好分区了:
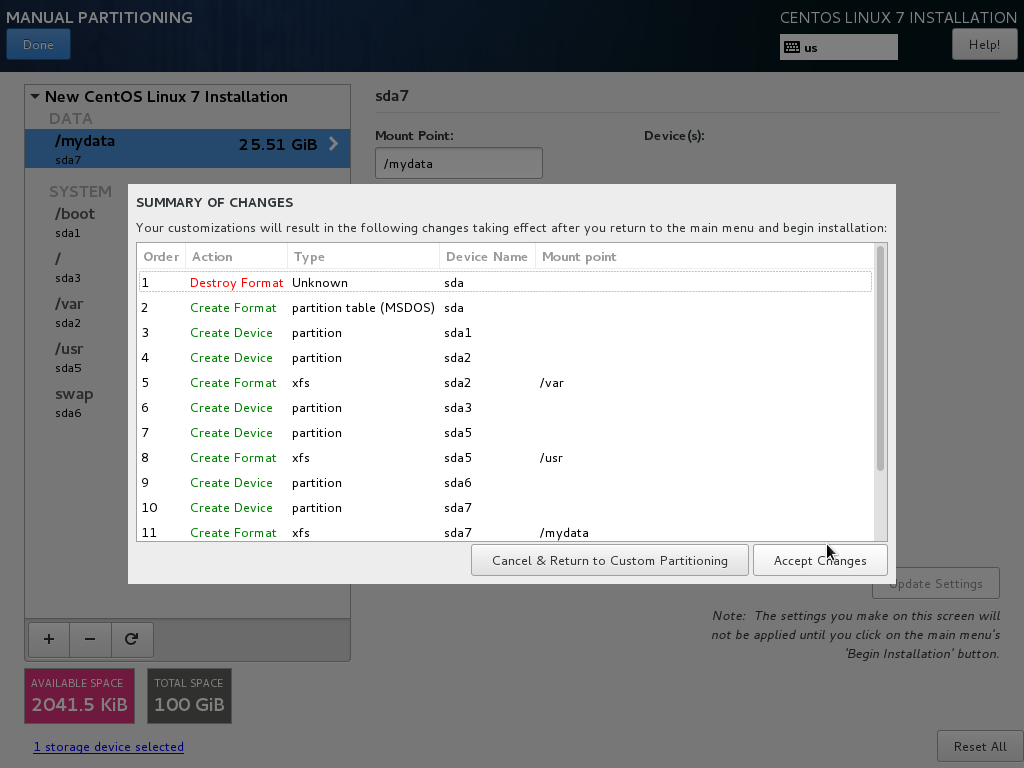
点击完Done后我们点击Accept Cahnge:
10.2 接下来我们对网络进行配置,KDUMP默认启用即可, 点击「NETWORK & HOST NAME」,可以看到我们左侧有一块网卡,Ethernet是以太网,enpOs3是网卡的标识,右侧可以看到详细MAC信息和连接速率等信息,左下角可以输入主机名:
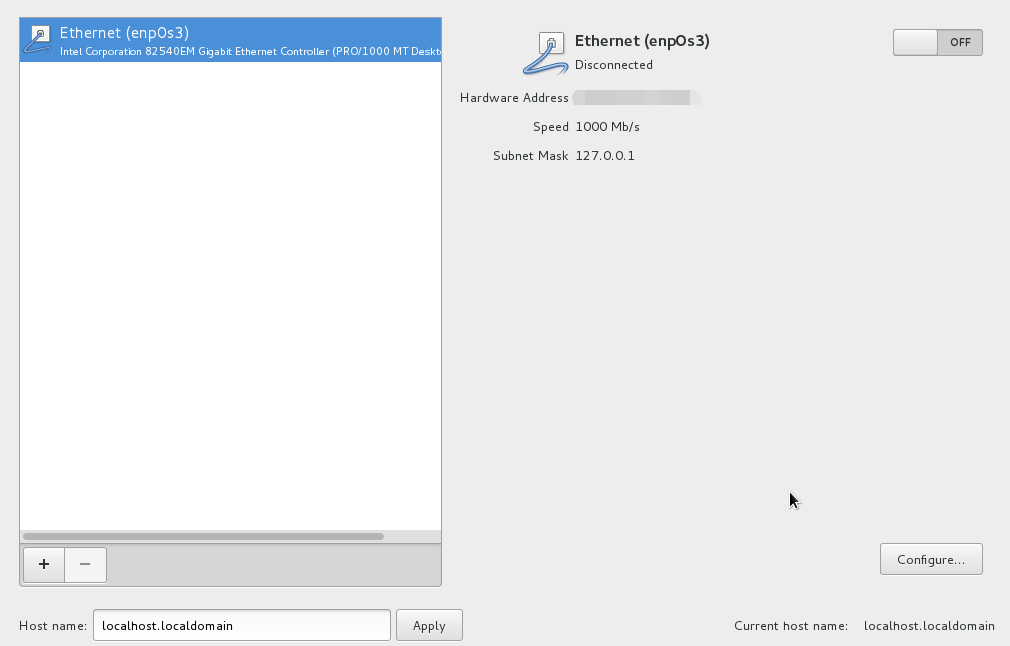
然后点击右上角的开关按钮来激活我们的网卡。点击Done。
开始安装
完成了以上的设置后,我们就点击右下角的 Begin Installation 按钮,开始安装到我们的磁盘啦。
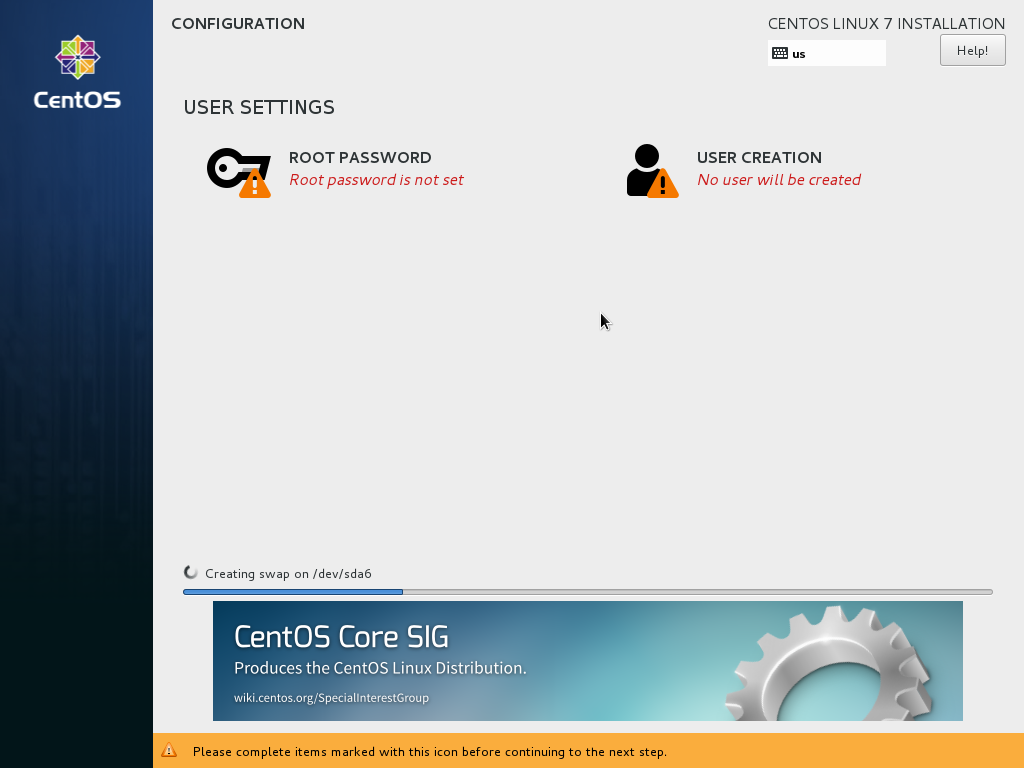
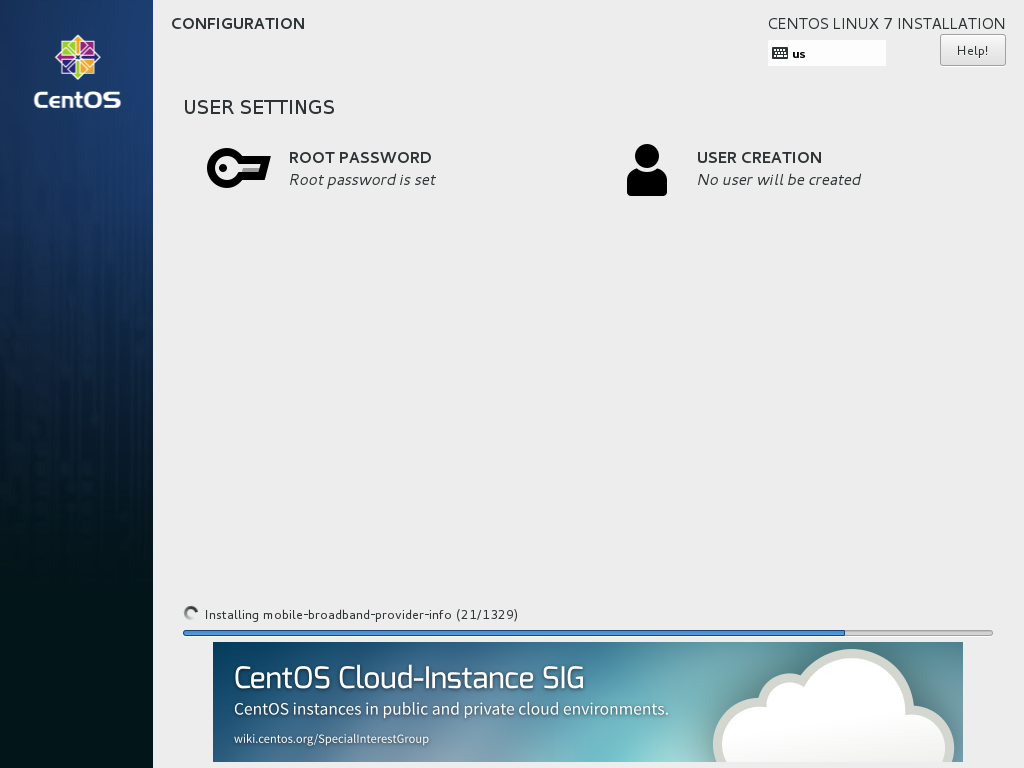
在安装的过程中,我们开始对root账号进行密码设置:

设置完密码点击done,当然你也可以继续创建账户,然后就是等待安装啦:
经过一段时间的等待,我们的CentOS终于安装完成了:

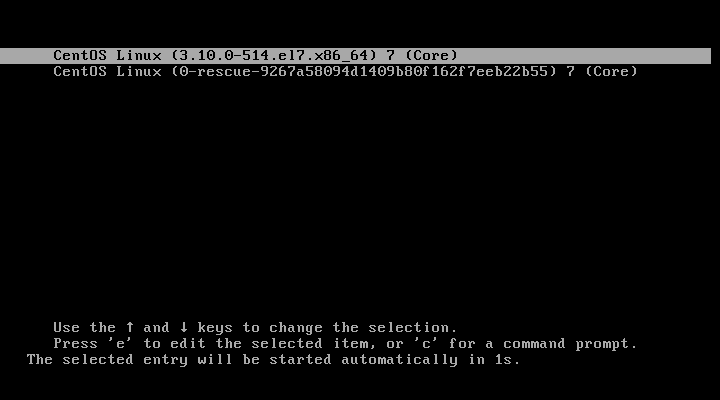
接下来我们点击右下角的Reboot按钮进行重启,重启后我们选择CentOS Linux:
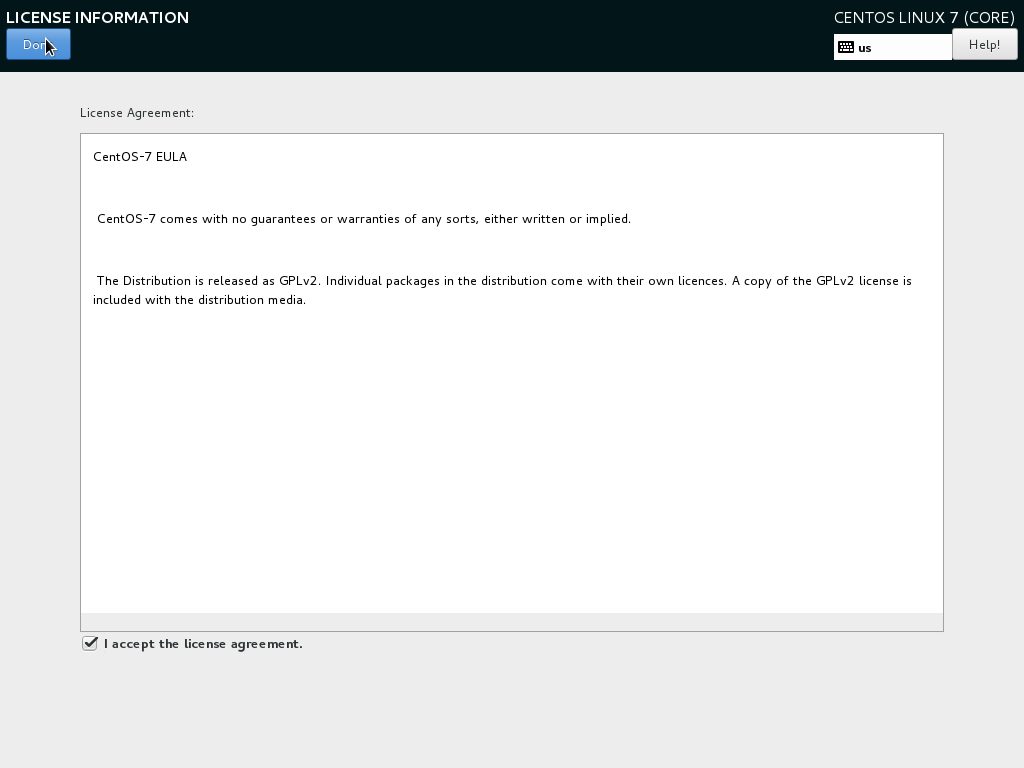
接下来我们需要同意协议,点击LICENSE,然后勾选accept:
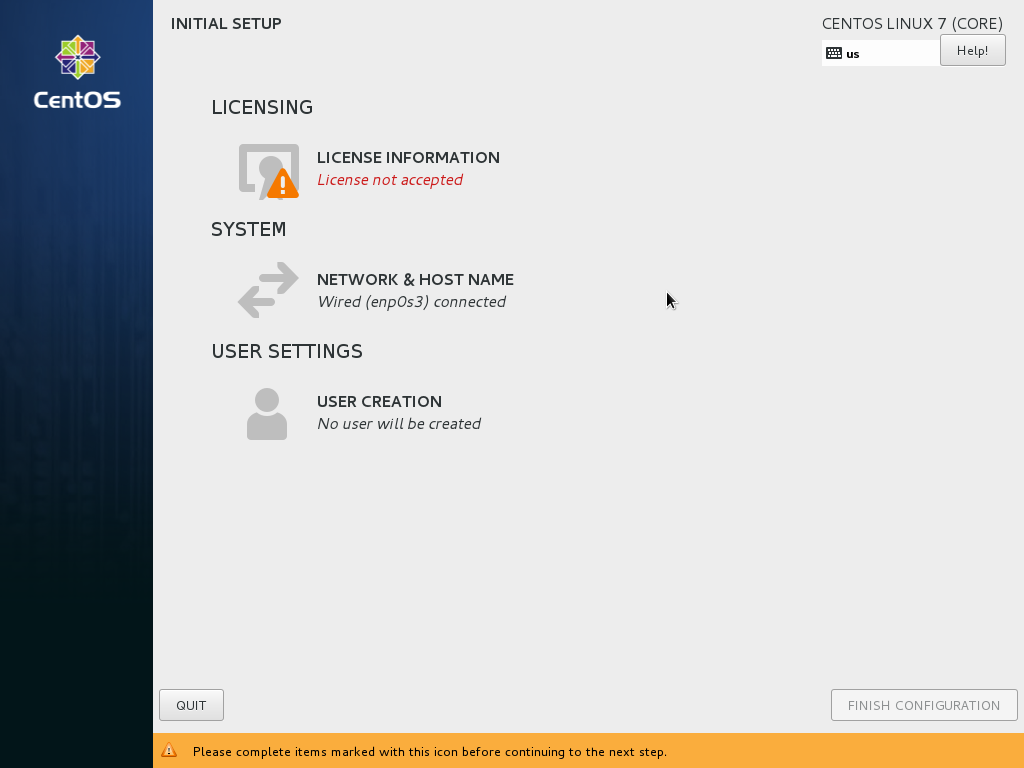
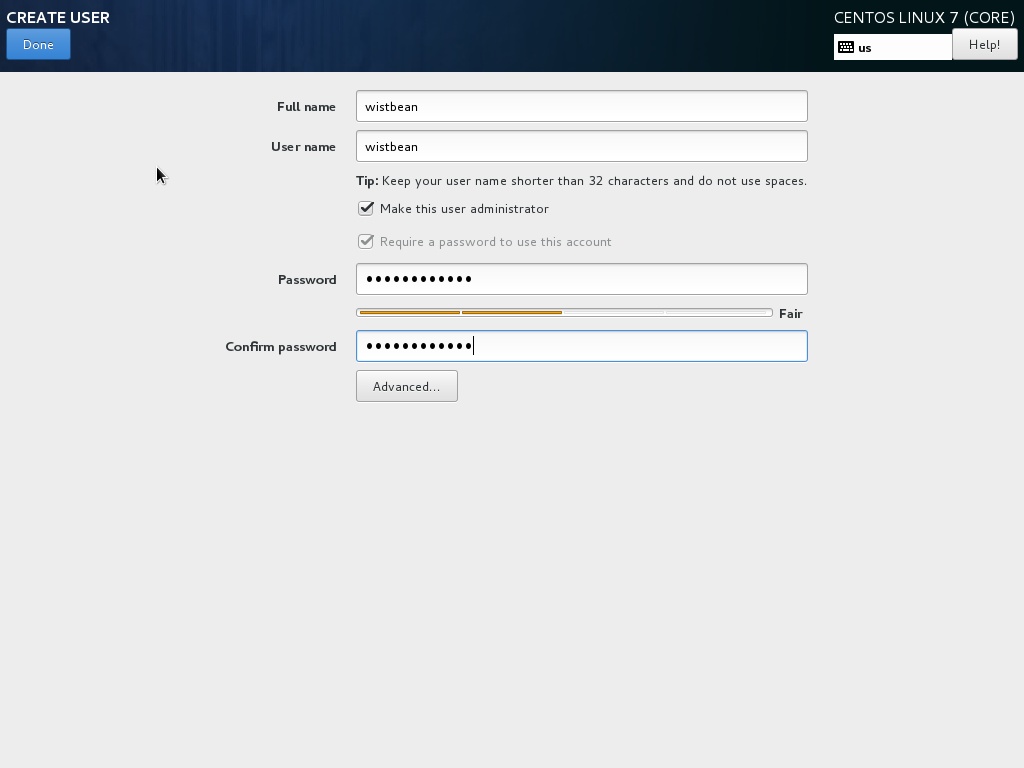
点击Done之后,如果你在安装的过程中没有创建账户,那么在这个时候可以点击USE CREATION来对用户进行创建:
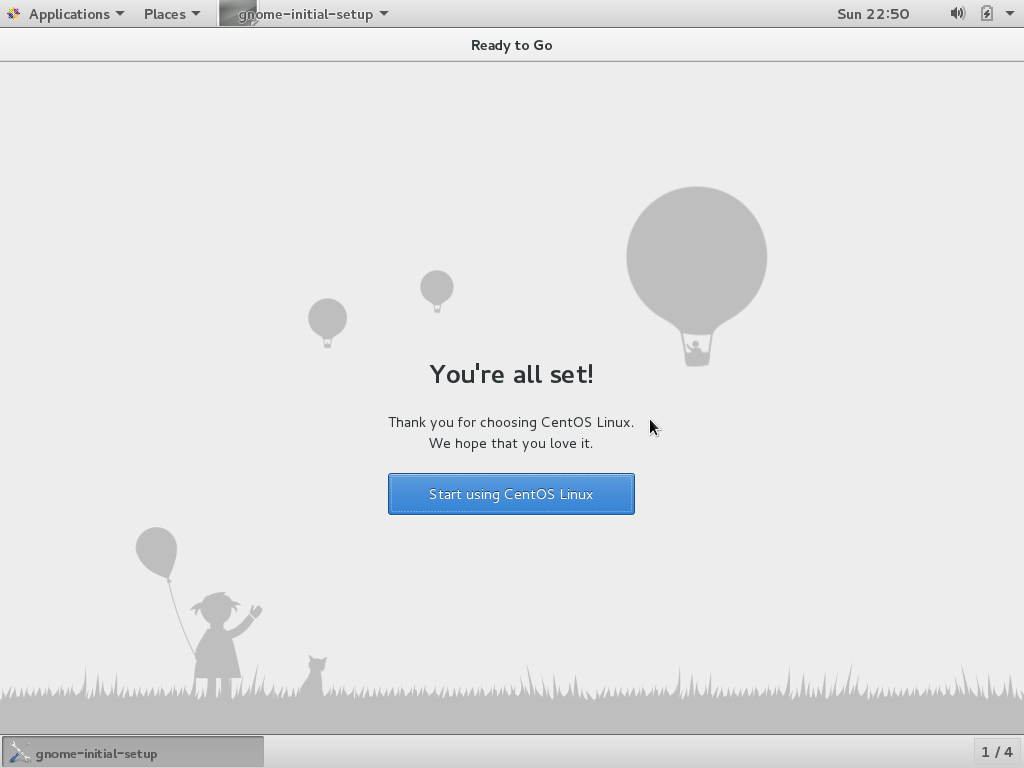
创建完之后点击右下角的FINISH CONFIGURETION。
CentOS安装完成了

那么接下来的篇章会告诉你怎么基本使用CentOS,对系统目录进行了解,对CentOS有一个整体的认识。
