搭建 wordpress 前的准备 最近我开了一个 VIP 的网站,用的就是 wordpress 框架搭建的,我之前用过 octopress 和 hexo 搭建博客,它们相对 wordpress 更加轻量一些,更多的是面向程序员使用命令的方式,而 wordpress 就有更多的人使用,上面也有丰富的插件和主题, wordpress 有后台管理界面,操作起来也非常方便。
常常有朋友问起如何搭建一个 wordpress 的网站,这次就抽空给大家说说如何使用 wordpress 来搭建一个属于自己的博客吧。
在此之前,我们需要:
一台云服务器
云服务器选择 wordpress推荐|我用了十几台云服务器VPS后,告诉你哪家云服务产商性价比高,性能稳定 ,如果你懒得看的话,就直接购买vultr送100美元注册链接注册 。具体购买流程可以参考这个:vultr购买教程 ,我选择的是
域名购买 关于域名和服务器我都不太推荐使用国内的,因为需要备案,关于域名可以到 godaddy 选购: https://sso.godaddy.com 。
安装 mysql 有了自己的服务器之后,就可以连接过去操作了。
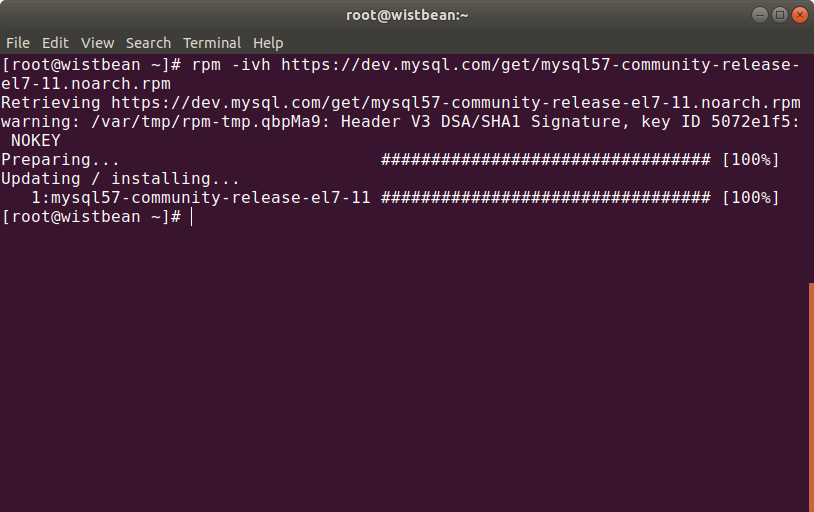
rpm 添加 mysql 仓库 1 rpm -ivh https://dev.mysql.com/get/mysql57-community-release-el7-11.noarch.rpm
wordpress搭建教程
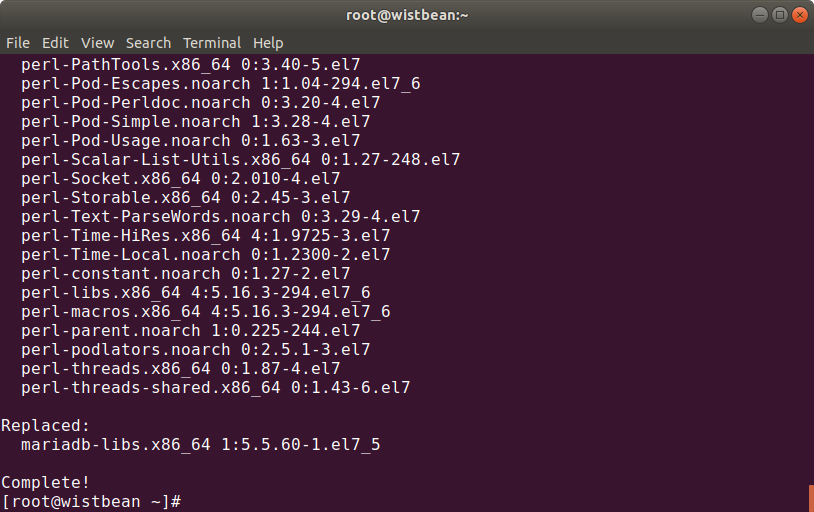
安装 mysql 1 yum -y install mysql-community-server
wordpress搭建教程
启动 mysql 安装 php rpm添加php 1 2 rpm -Uvh https://dl.fedoraproject.org/pub/epel/epel-release-latest-7.noarch.rpm rpm -Uvh https://mirror.webtatic.com/yum/el7/webtatic-release.rpm
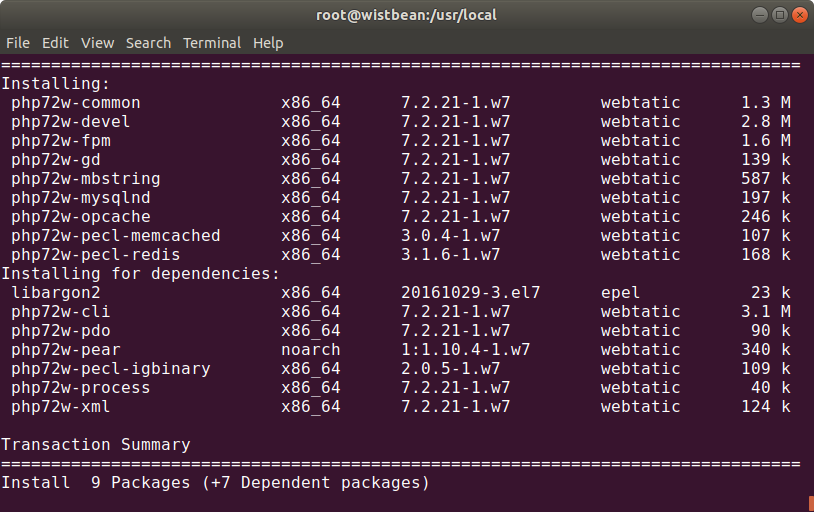
安装 php 以及相关插件 1 yum install php72w-common php72w-fpm php72w-opcache php72w-gd php72w-mysqlnd php72w-mbstring php72w-pecl-redis php72w-pecl-memcached php72w-devel
wordpress搭建教程
启动 php 1 systemctl start php-fpm.service
安装Nginx的依赖环境 1 yum install -y openssl openssl-devel
OpenSSL 是一个强大的安全套接字层密码库,囊括主要的密码算法、常用的密钥和证书封装管理功能及SSL协议,并提供丰富的应用程序供测试或其它目的使用。
1 yum install -y zlib zlib-devel
多种压缩和解压缩的方式,nginx使用zlib对http包的内容进行gzip
1 yum install -y pcre pcre-devel
nginx的http模块使用pcre来解析正则表达式
安装nginx需要先将官网下载的源码进行编译,编译依赖gcc环境
下载Nginx 在 http://nginx.org/en/download.html 可以下载相应的 nginx 版本,这里我下载的是 1.8.1:
1 2 yum intall wget wget http://nginx.org/download/nginx-1.8.1.tar.gz
解压Nginx 1 tar -zxvf nginx-1.8.1.tar.gz
参数配置 1 2 3 4 5 6 7 8 9 10 11 12 13 ./configure \ --prefix=/usr/local/nginx \ --pid-path=/var/run/nginx/nginx.pid \ --lock-path=/var/lock/nginx.lock \ --error-log-path=/var/log/nginx/error.log \ --http-log-path=/var/log/nginx/access.log \ --with-http_gzip_static_module \ --http-client-body-temp-path=/var/temp/nginx/client \ --http-proxy-temp-path=/var/temp/nginx/proxy \ --http-fastcgi-temp-path=/var/temp/nginx/fastcgi \ --http-uwsgi-temp-path=/var/temp/nginx/uwsgi \ --http-scgi-temp-path=/var/temp/nginx/scgi \ --with-http_ssl_module
创建下刚配置到的目录:
1 2 cd /var mkdir -p temp/nginx
编译安装 nginx 进入到 nginx-1.8.1 目录:
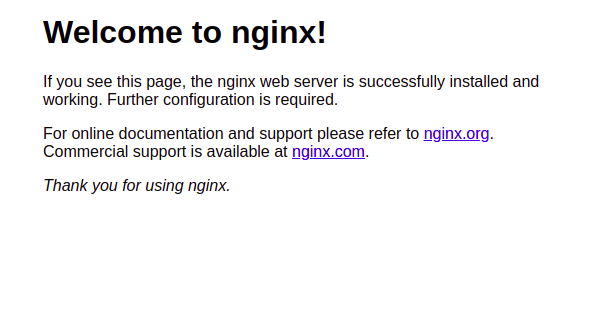
启动 nginx 1 2 cd /usr/local/nginx/sbin ./nginx
wordpress搭建教程
安装 wordpress 1 2 3 cd /usr/local/ wget https://wordpress.org/latest.tar.gz tar -zxvf latest.tar.gz
wordpress搭建教程
配置 wordpress ok,现在环境都安装完毕了,接下来稍微做下配置就可以了。
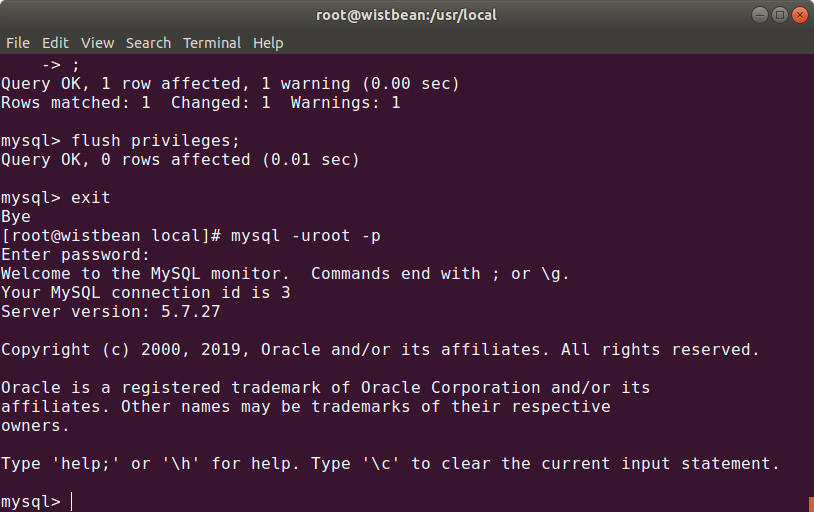
进入 mysql,设置下密码: 1 mysqld --user=root --skip-grant-tables &
1 2 UPDATE mysql.user SET authentication_string=PASSWORD('设置你的密码') where USER='root'; GRANT ALL PRIVILEGES ON *.* TO 'root'@'localhost' IDENTIFIED BY '你的密码' WITH GRANT OPTION;
刷新权限 退出,重新登录:
wordpress搭建教程
创建 wordpress 数据库 1 CREATE DATABASE wordpress;
wordpress搭建教程
配置 wordpress 退出mysql,然后进入 wordpress 目录:
1 cd /usr/local/wordpress/
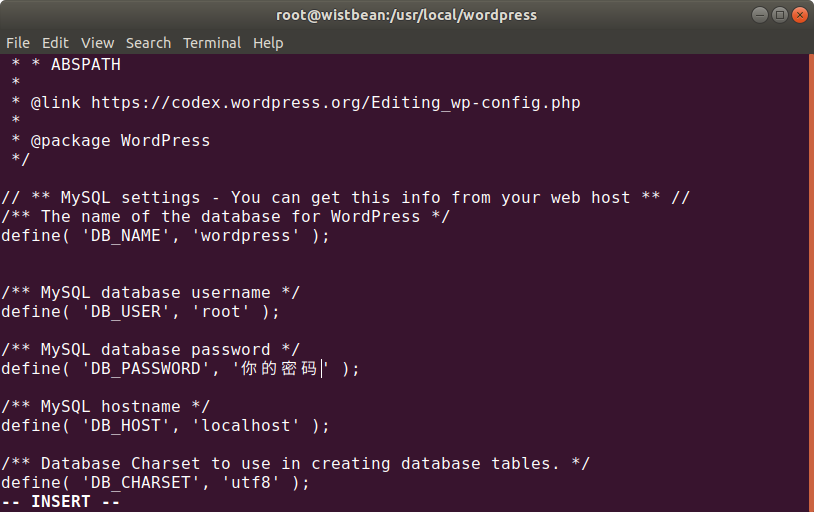
修改文件wp-config:
改下面几行,就是你刚刚创建的数据库名称和密码:
1 2 3 4 5 6 7 8 9 10 11 define( 'DB_NAME', 'wordpress' ); /** MySQL database username */ define( 'DB_USER', 'root' ); /** MySQL database password */ define( 'DB_PASSWORD', '你的密码' ); /** MySQL hostname */ define( 'DB_HOST', 'localhost' );
wordpress搭建教程
保存退出:
改下文件名:
1 mv wp-config-sample.php wp-config.php
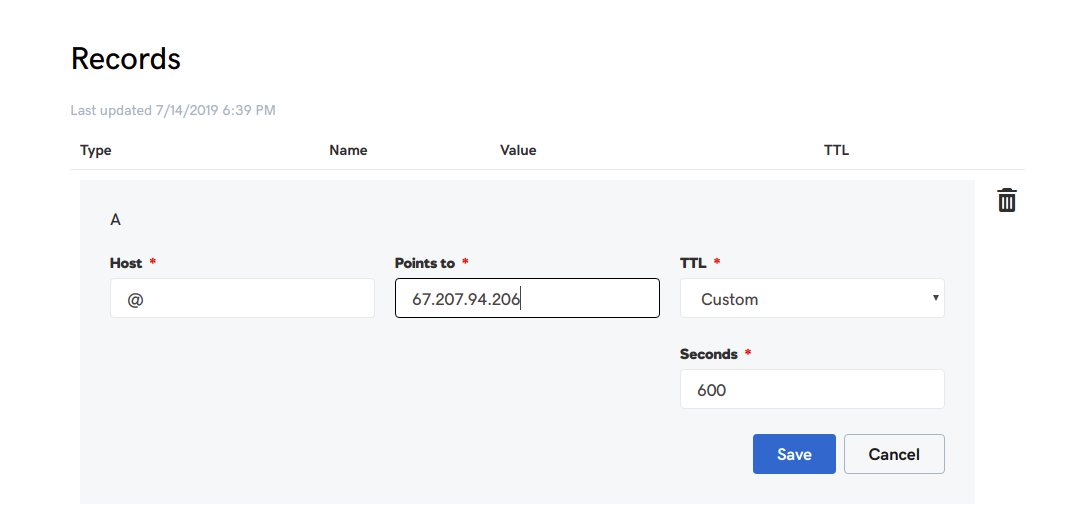
将域名绑定到你的服务器地址 DNS 添加 A 记录:
wordpress搭建教程
配置 nginx 配置 nginx 文件:
1 vim /usr/local/nginx/conf/nginx.conf
在 server 中做如下配置:
1 2 3 4 5 6 7 8 9 10 11 12 13 14 15 16 17 18 19 20 21 22 23 24 25 26 27 28 29 30 31 server { listen 80; server_name fxxkpython.com; root /usr/local/wordpress; #charset koi8-r; #access_log logs/host.access.log main; location / { index index.php index.html index.htm; try_files $uri $uri/ /index.php index.php; } location ~ \.php$ { fastcgi_pass 127.0.0.1:9000; fastcgi_index index.php; fastcgi_param SCRIPT_FILENAME $document_root$fastcgi_script_name; include fastcgi_params; } #error_page 404 /404.html; # redirect server error pages to the static page /50x.html # error_page 500 502 503 504 /50x.html; location = /50x.html { root html; } }
保存退出之后,reload 一下 niginx:
1 [root@wistbean sbin]# ./nginx -s reload
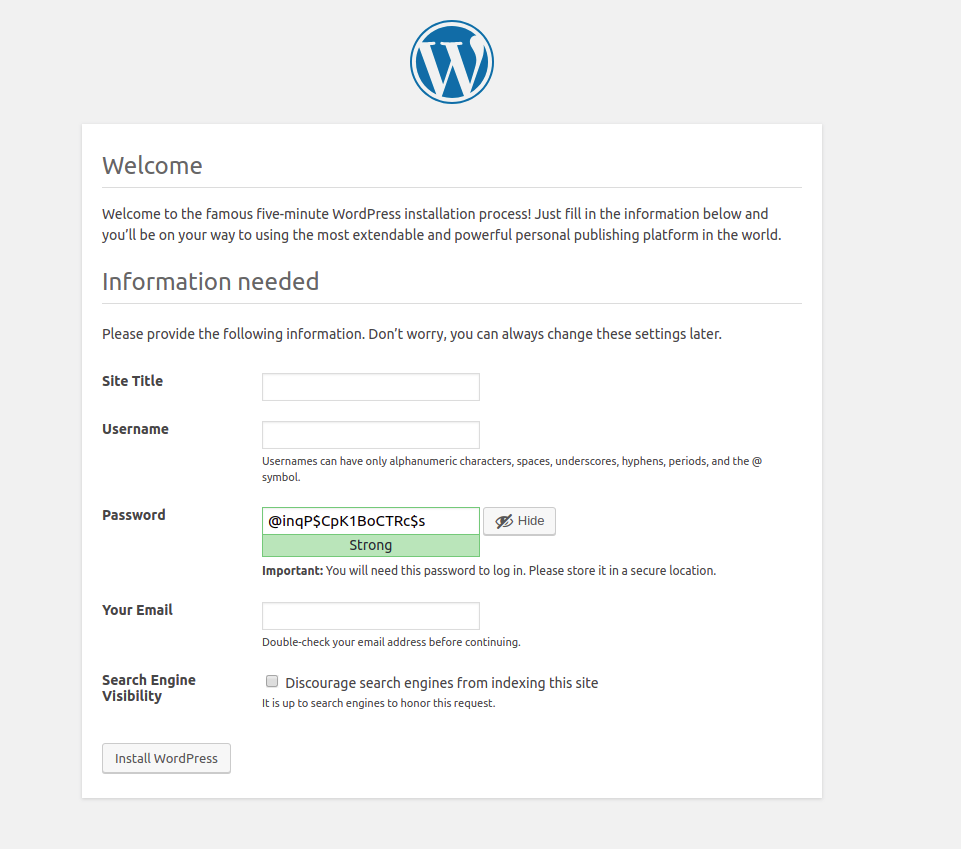
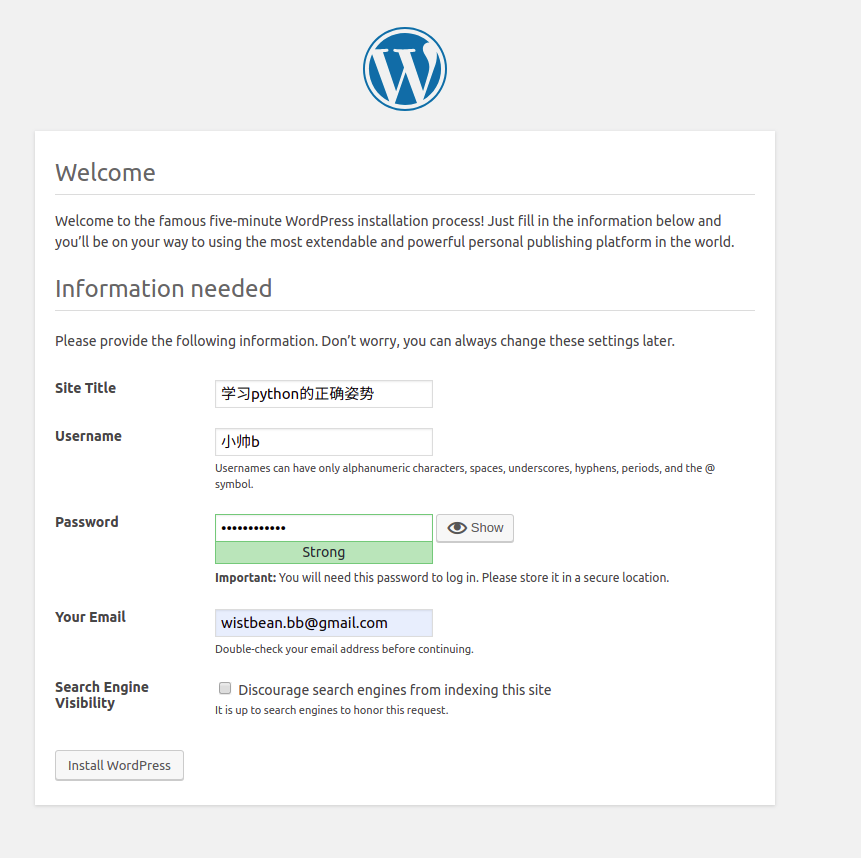
搞定 打开你的域名, http://fxxkpython.com/wp-admin/install.php ,这时候你会看到:
wordpress搭建教程
配置你网站的信息:
wordpress搭建教程
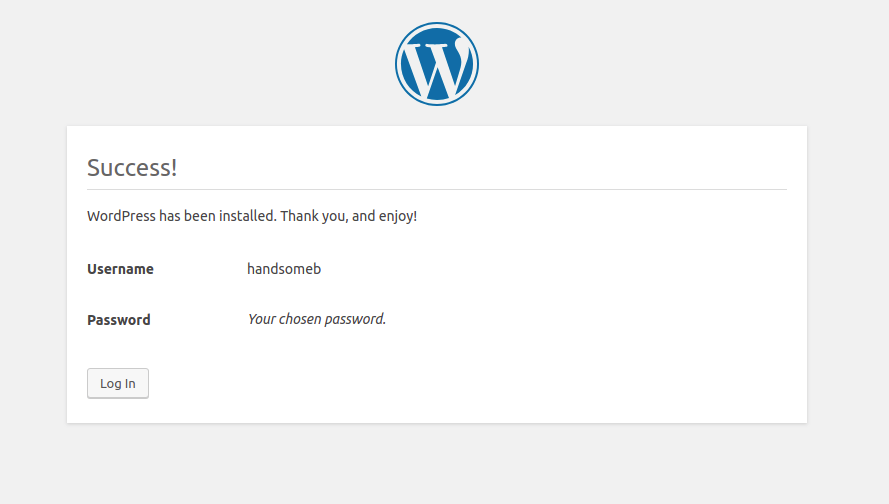
点击下一步,如果你不巧也出现这个错误 MySQL: 1006 - Can’t create database ‘***’ (errno: 13) ,别慌,使用如下命令开启权限:
1 chown -R mysql:mysql /var/lib/mysql
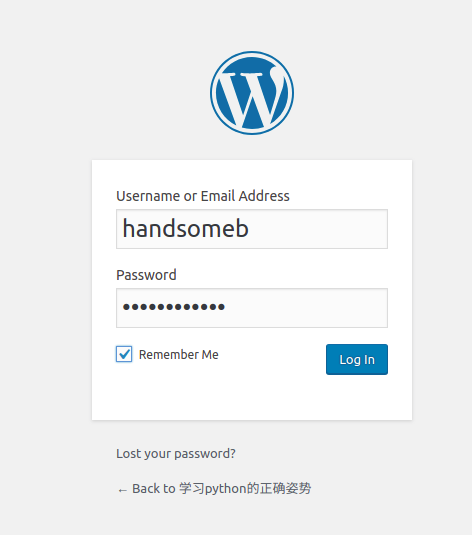
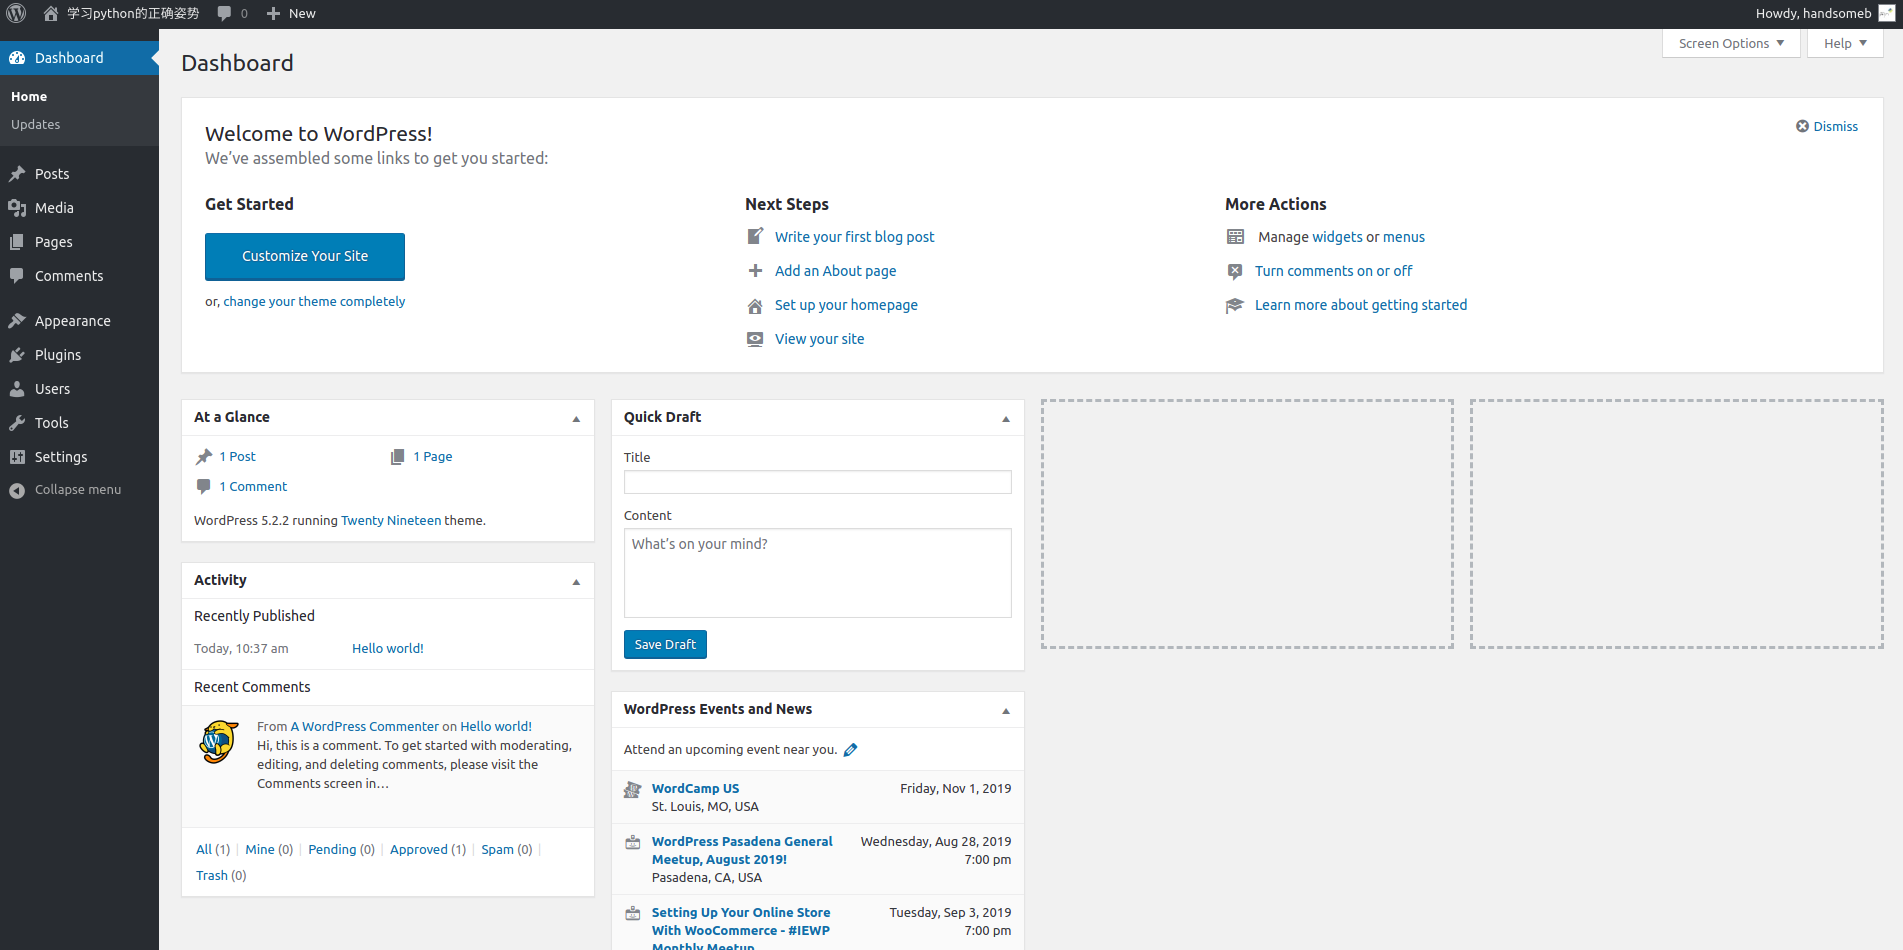
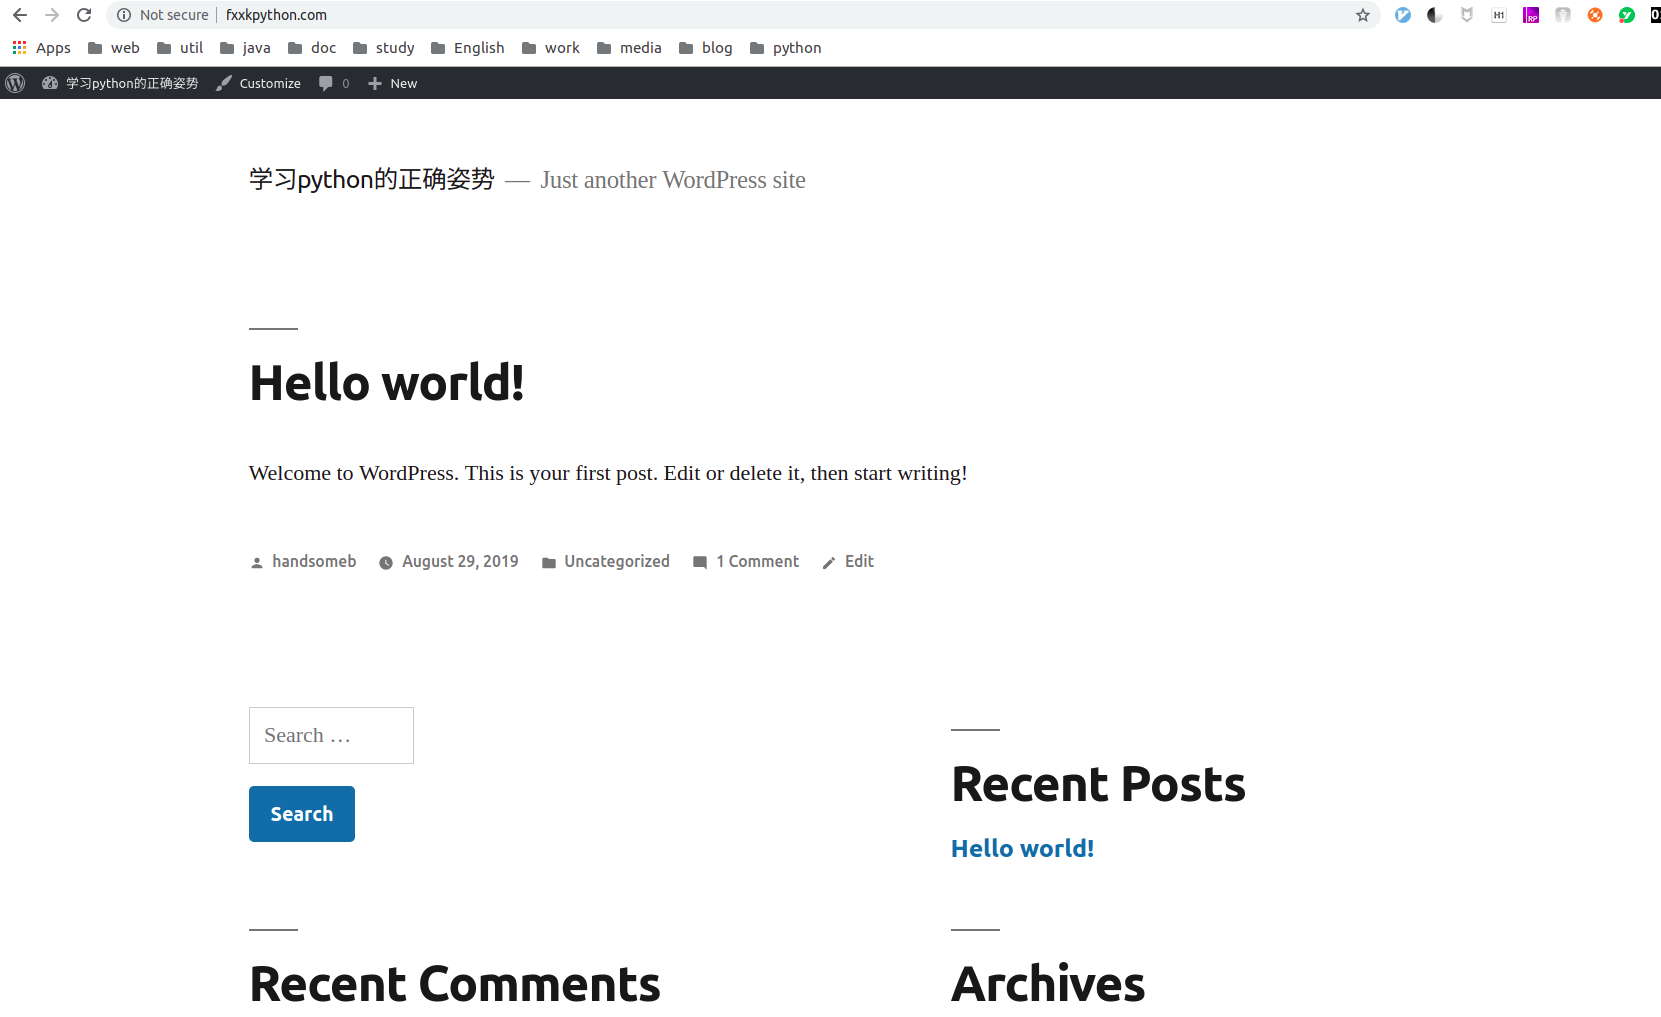
接着就可以登录进你的网站啦:
wordpress搭建教程
wordpress搭建教程
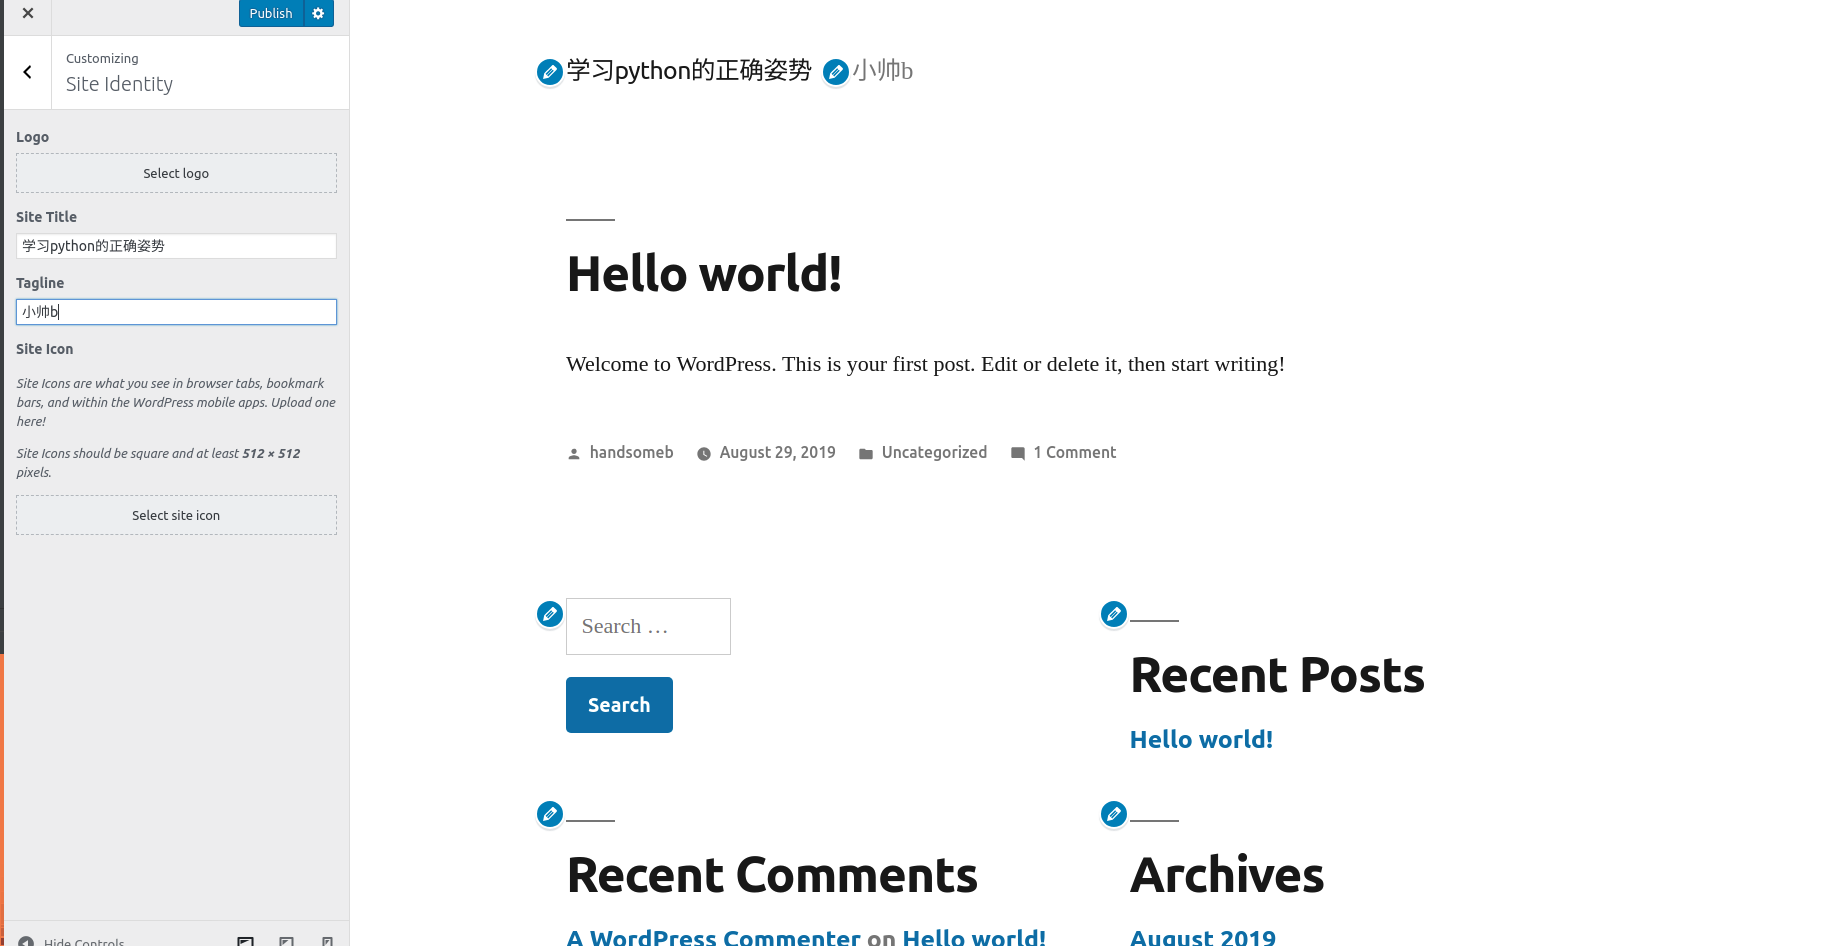
可以配置你的主题,你想怎么玩就怎么玩,完全听从你自己的内心:
wordpress搭建教程
wordpress搭建教程
wordpress搭建教程
在公众号「帅彬老仙」发送「帅书」领取我写的技术电子书,转载请注明出处:
wistbean
